First time using EventKing? Lets’ get onboard!
Eventking provides a platform for event organizers to sell interested individuals to buy tickets with less hassle and more convenient. It is a free event posting at EventKing site.
Organization Experience:
Add-On Features (Paid feature):
Once you have an account, you can start creating an event in the platform. You can find more information in these videos.
Step 1 – Setup Content
Step 2 – Agenda and Speakers (Optional)
Step 3 – Customise Registration Form (if you need to collect other information from participant)
Step 4 – Preview
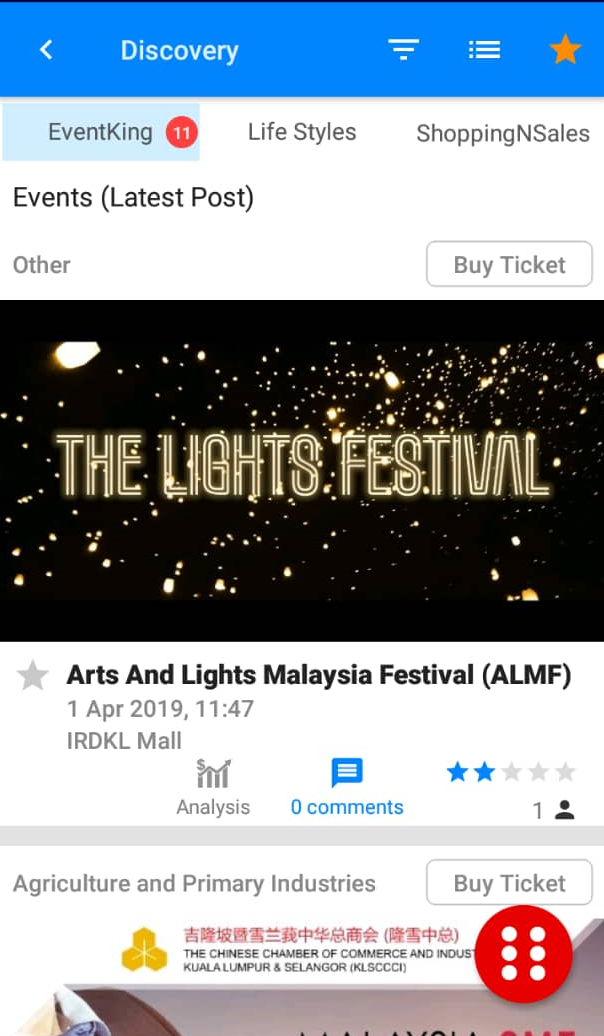
i. Click on Ongoing/Incoming Event. Then, search for the event that you want to display as public. Eg : Arts And Lights Malaysia Festival (ALMF)
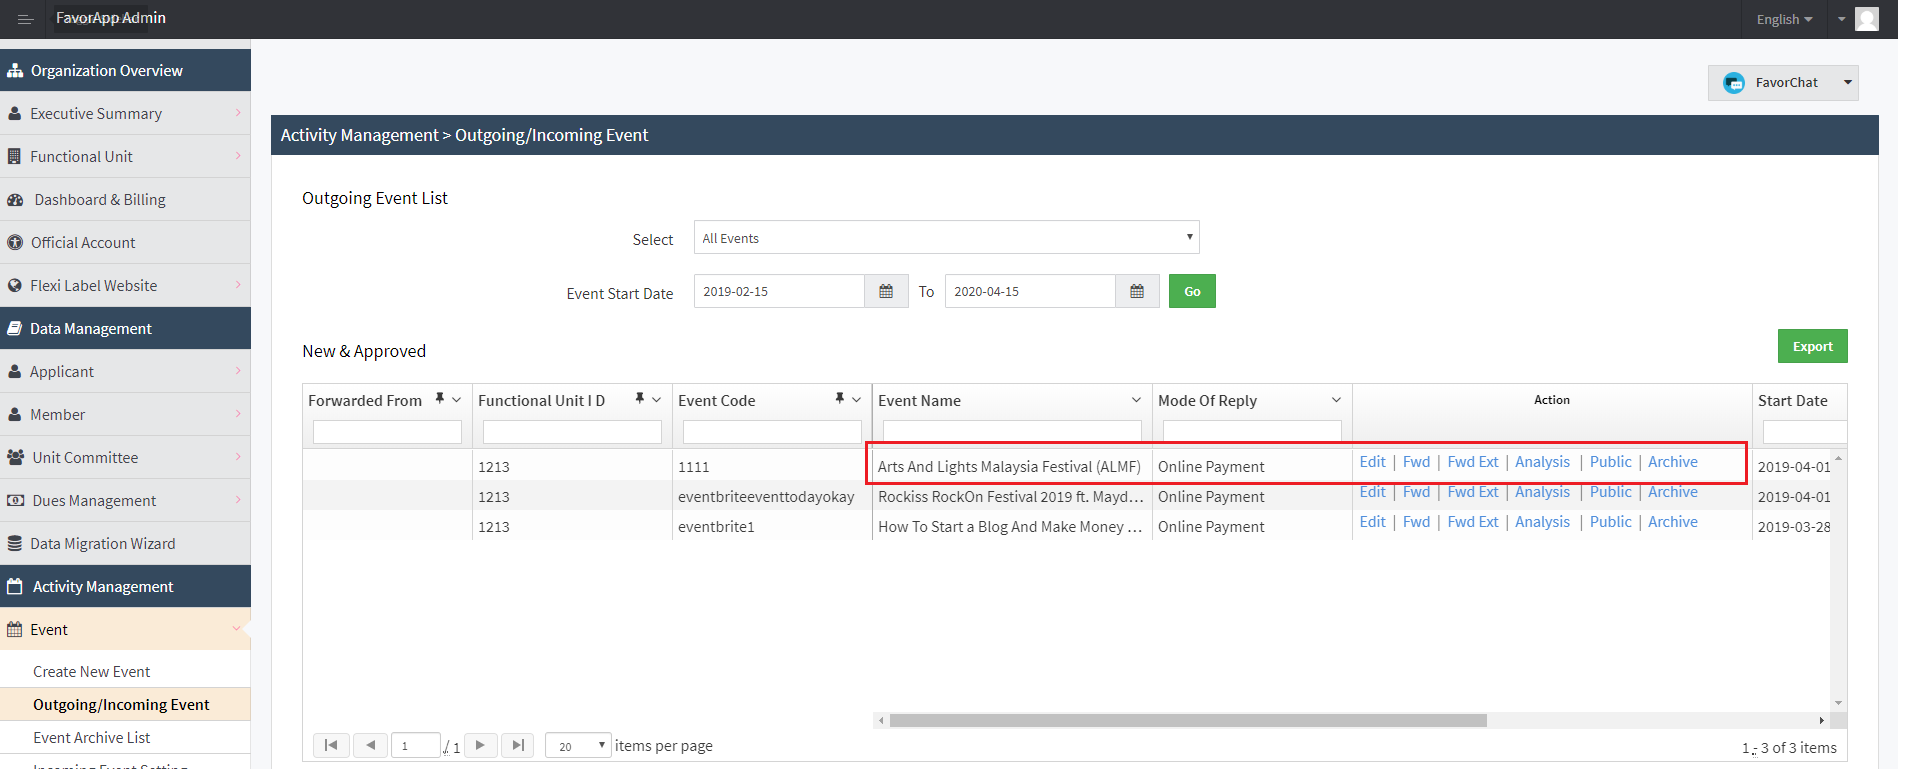
ii. Under ‘Action’ column, there is Edit|Fwd|Fwd Ext|Analysis|Public|Archive. Click on Public.

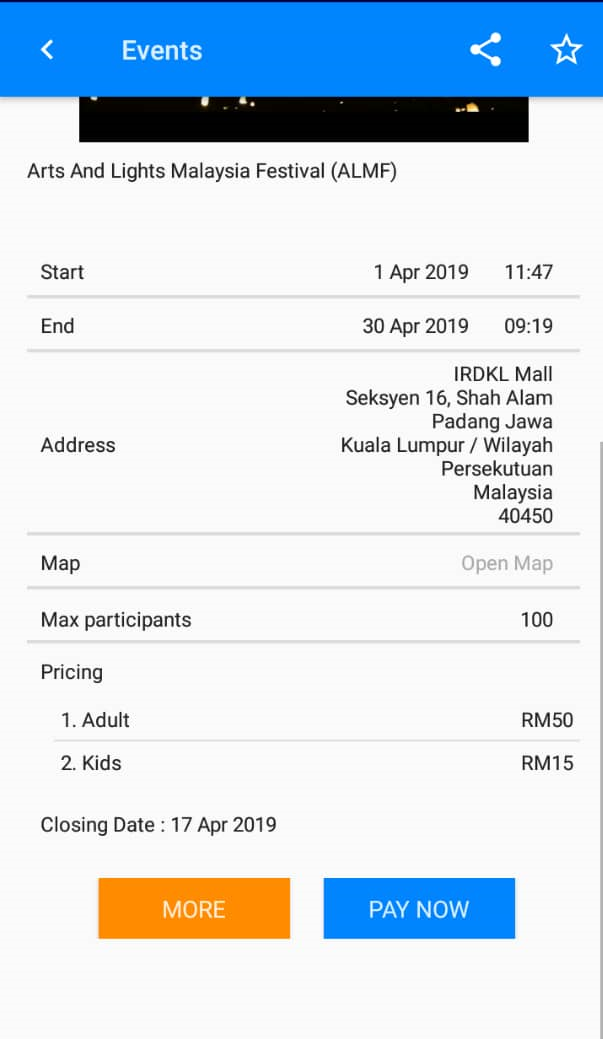
iii. Fill in the field beside Max Participant then click on Forward to Favor Tech button. There are 2 types of ticket in this example, ‘Adult’ and ‘ Kids’- You can allocate the max participants for each type of ticket created. You can watch the video (video link) to learn more.
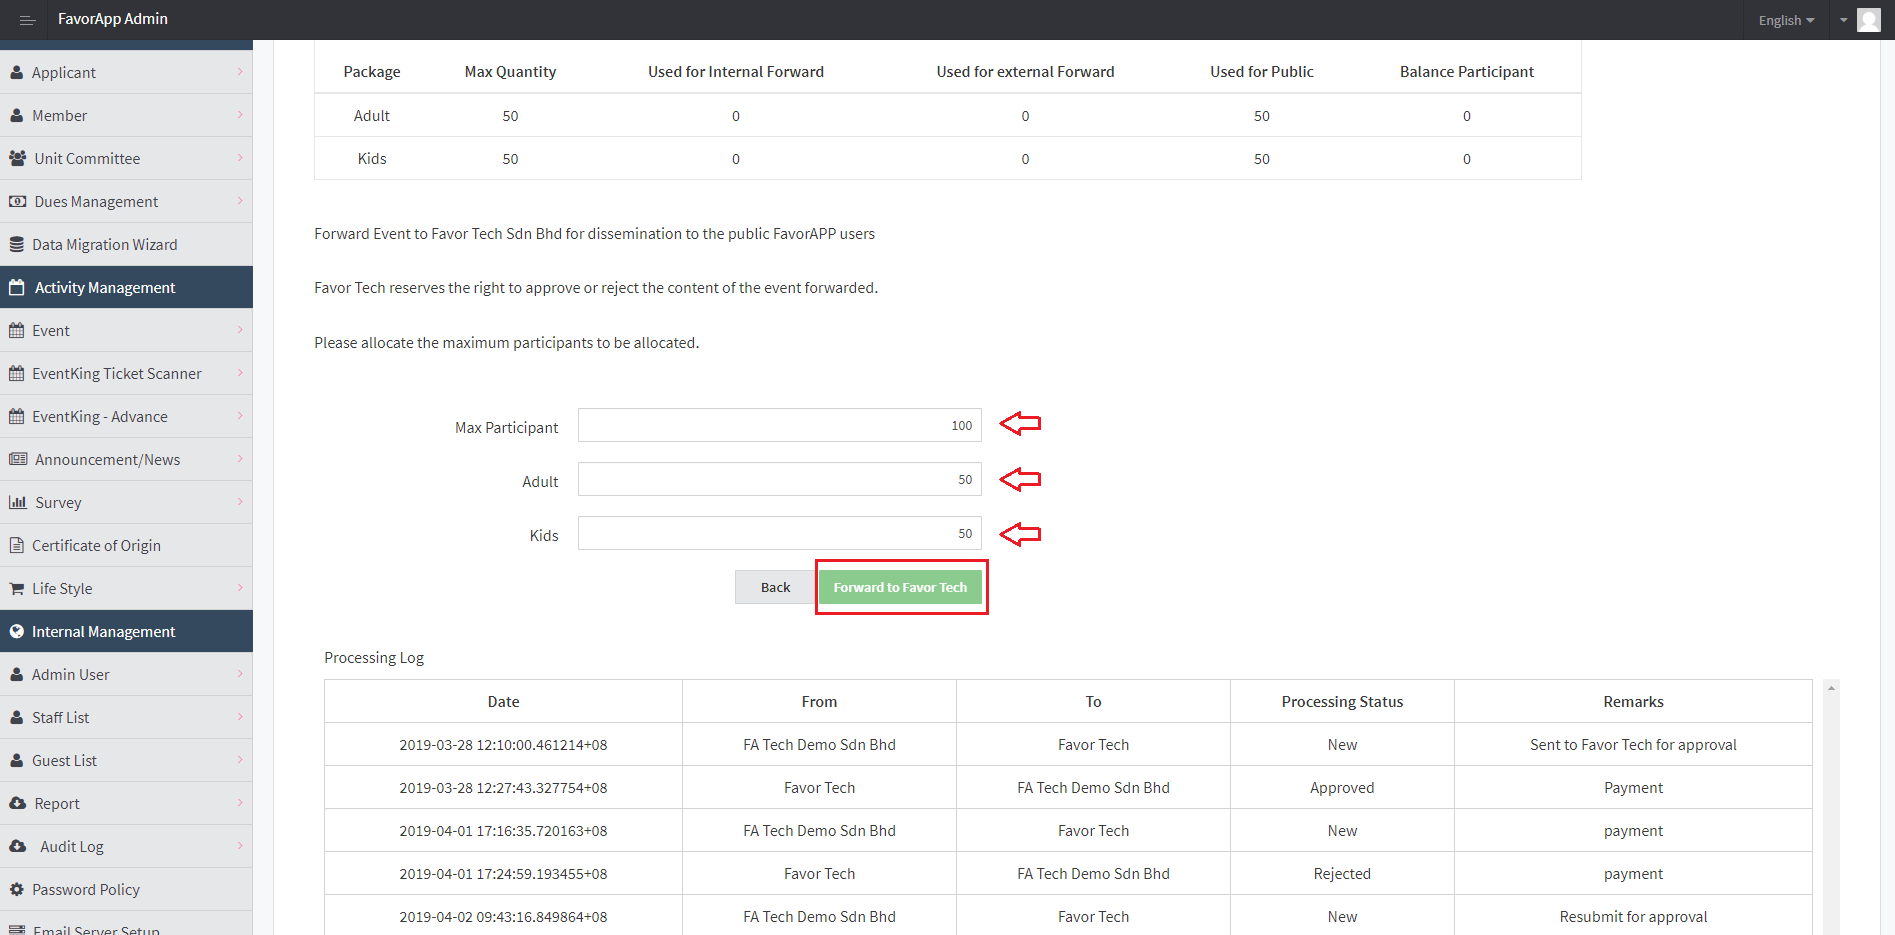
Max participant : You can allocate the total number of participants allowed to attend the event. Please be noted that the total number of participants allowed cannot exceed the total number of Max Participant Allocated.
Eg : While you are creating a public event, you have set the overall Max Participants Allocated number to be 100 which means 100 tickets will be available for participants. Thus, we cannot set the total Max Participant to be more than 100.

iv. Great, now your event is successfully published. Then click OK.

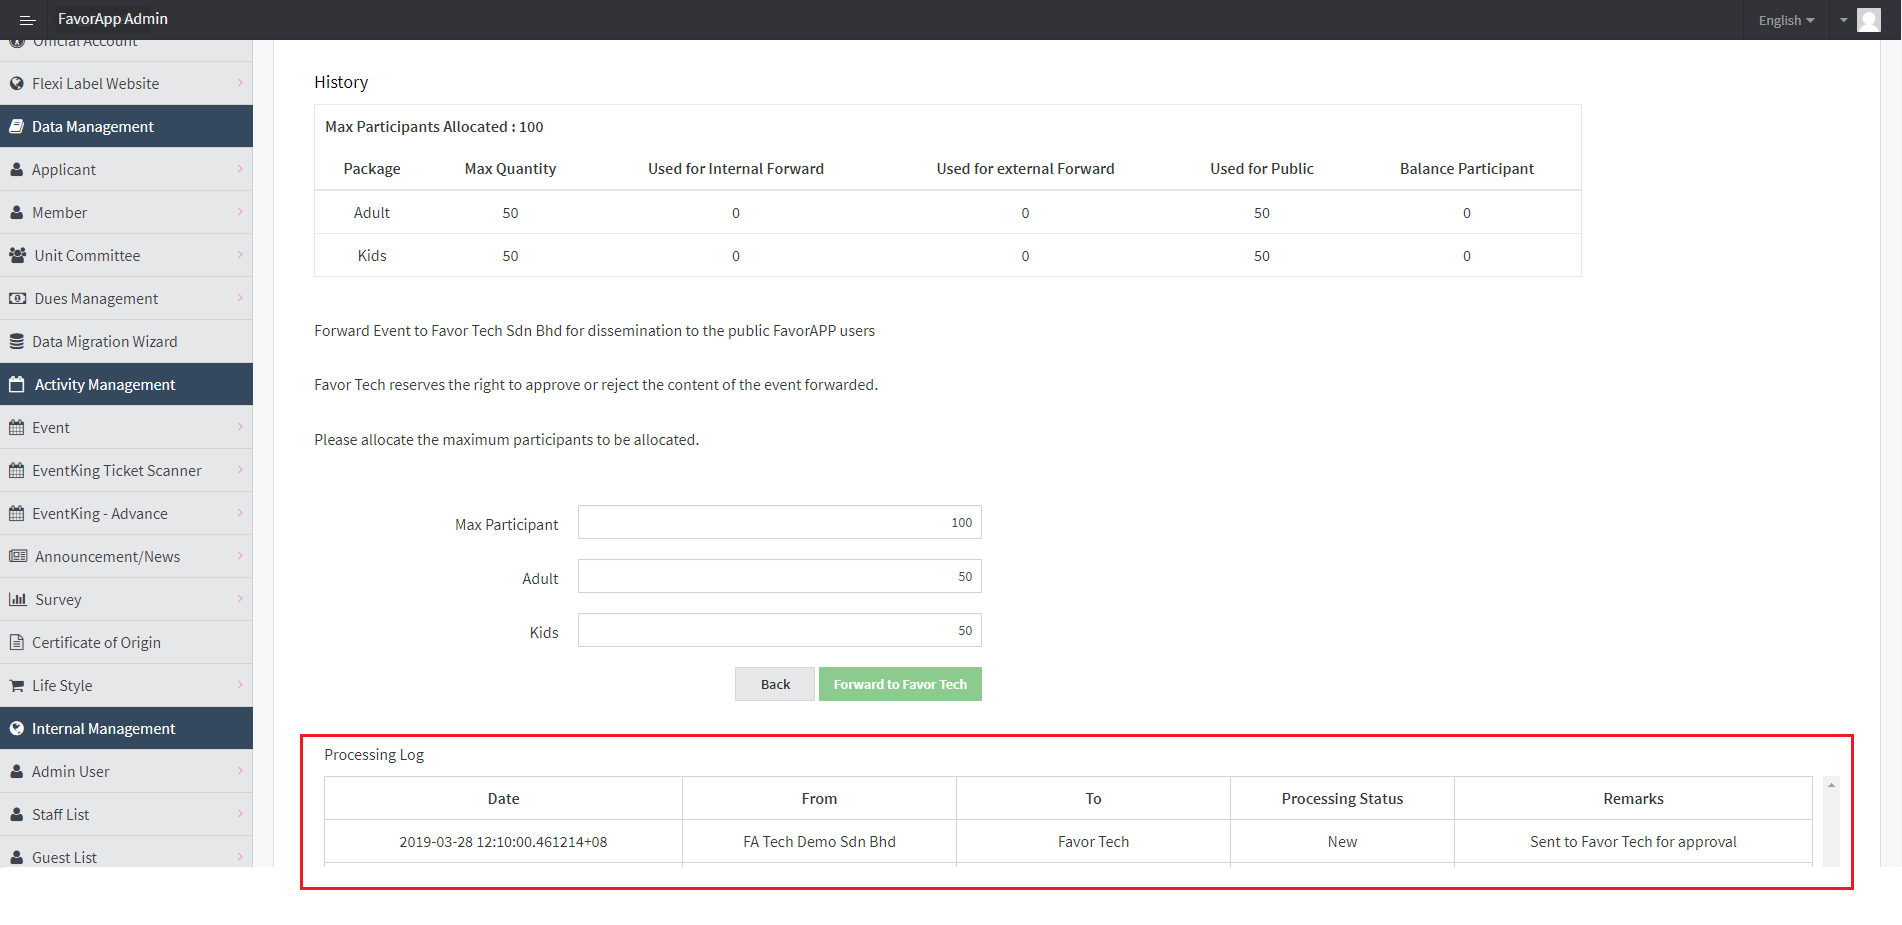
v. At the bottom of the page , you will find Processing Log. This log is currently showing the status of your event. Your event needs approval from Favor Tech to be shown publicly. Once your event gets approved, the Processing Status will be updated from New to Approved. Favor Tech reserves the right to reject any request for posting of events and/or information at EventKing.io and the right to remove any posted events and/or information from EventKing.io at its own absolute discretion.

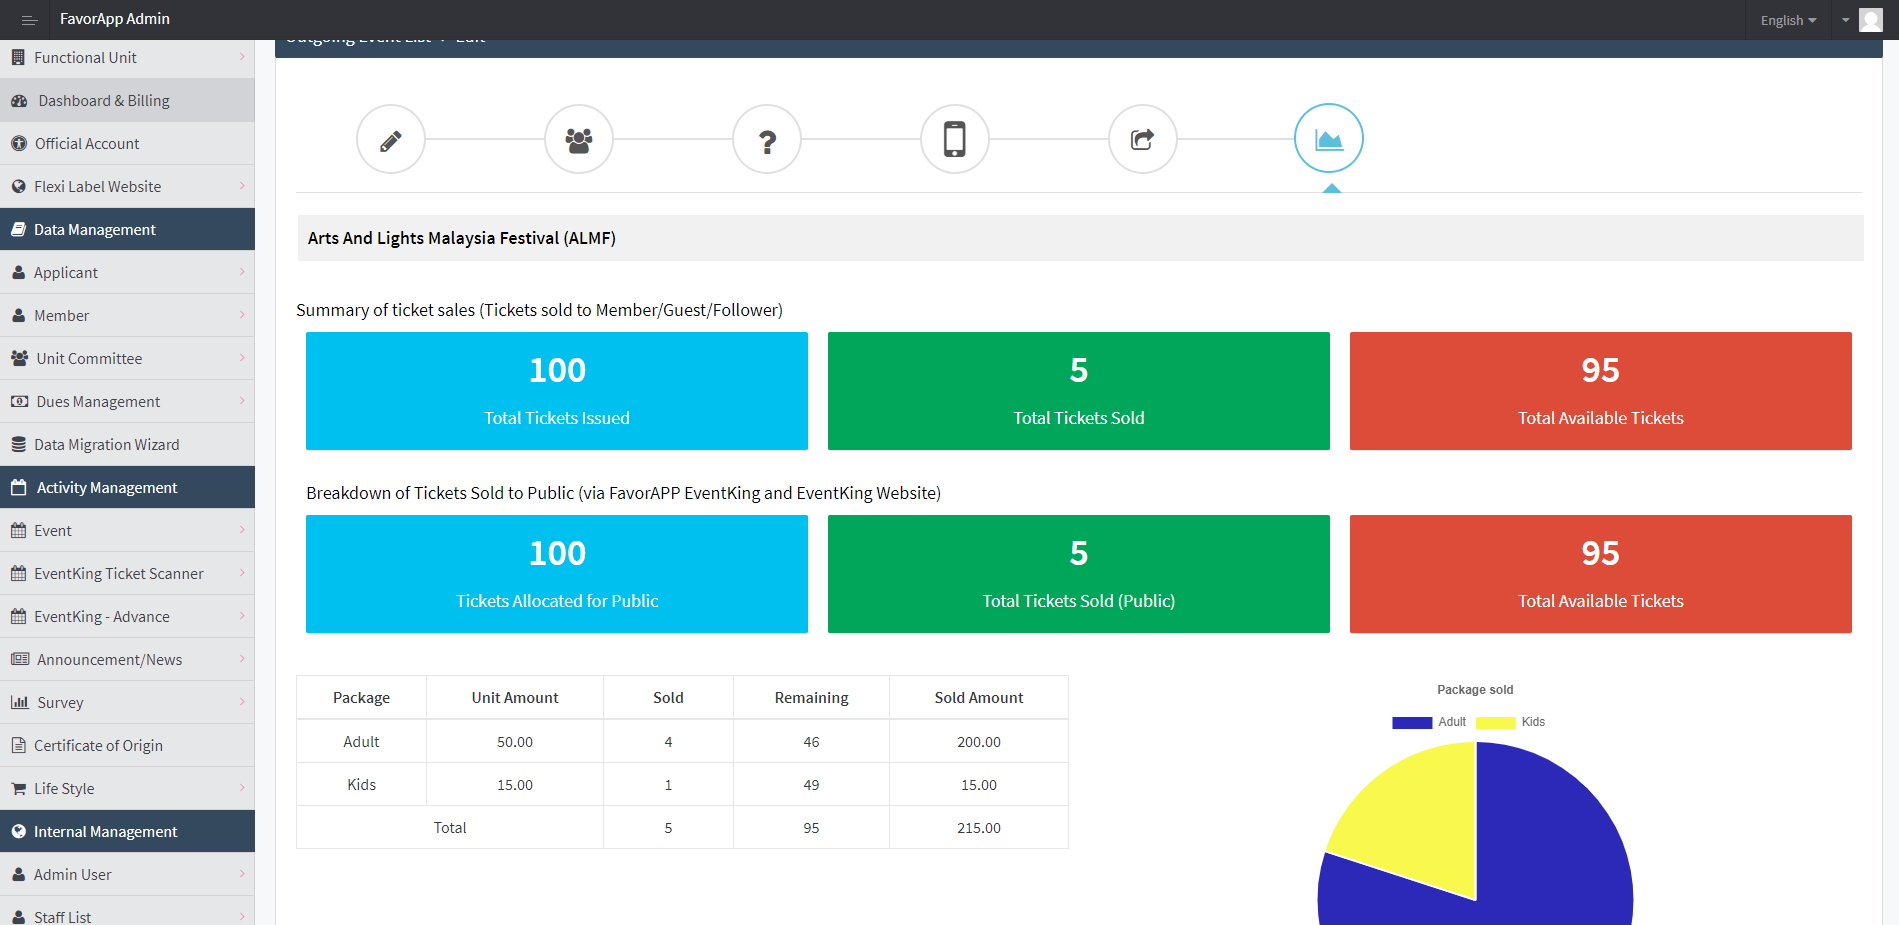
You need to go to Ongoing/Incoming Event. Find your event and under Action, there is Edit|Fwd|Fwd Ext|Analysis|Public|Archive. Click on Analysis.

Eg : Arts And Lights Malaysia Festival (ALMF) Response Analysis. You can now analyse the response better with charts and better visualization tools.
Upon tickets are sold, e-Ticket with QR code and Tax Invoice will be automatically sent to participant.
Example of e-Ticket:
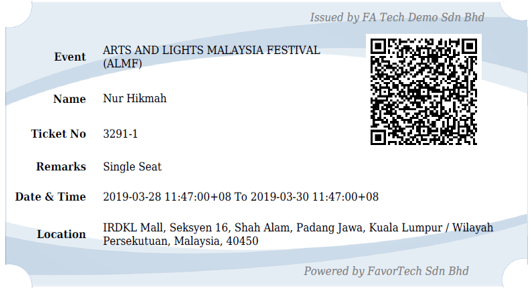
For Illustration purpose
Example of Tax Invoice :
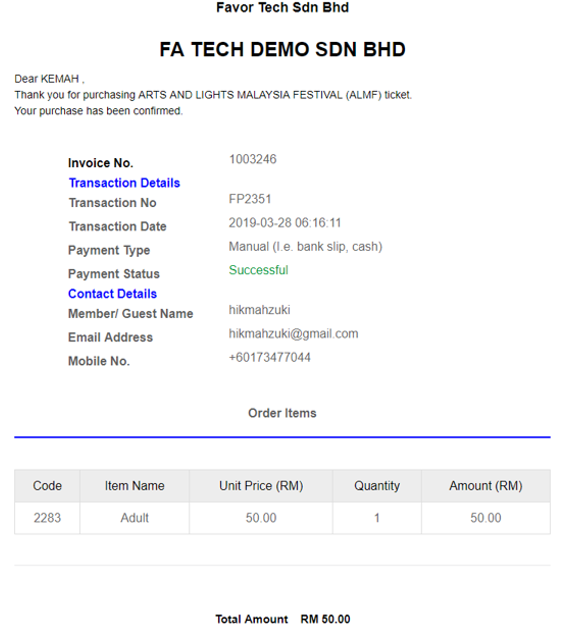
For Illustration purpose
There are 4 types of Add-On Features that you can subscribe to:
You can assign scanner admin
You can choose online and offline scanning option

You can also upload offline scanned tickets that you have brought tickets from the counters
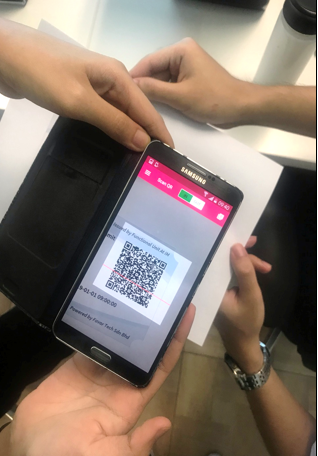
EventKing Scanner App (Android)
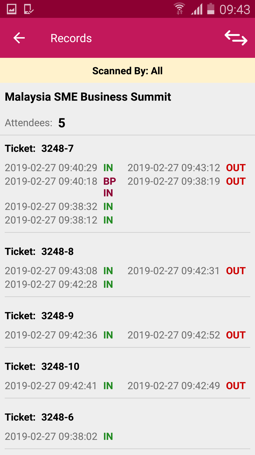
You can view all scanned records in the FavorAPP.
How to manually generate tickets for my event?
This option is used for the staff to fill in the ticket details bought by participants that preferred to do their transactions at the ticket counter.
You need to go to EventKing-Advance > Manual Ticket Sales.
Then, insert details such as event and purchaser details as well as payment details.
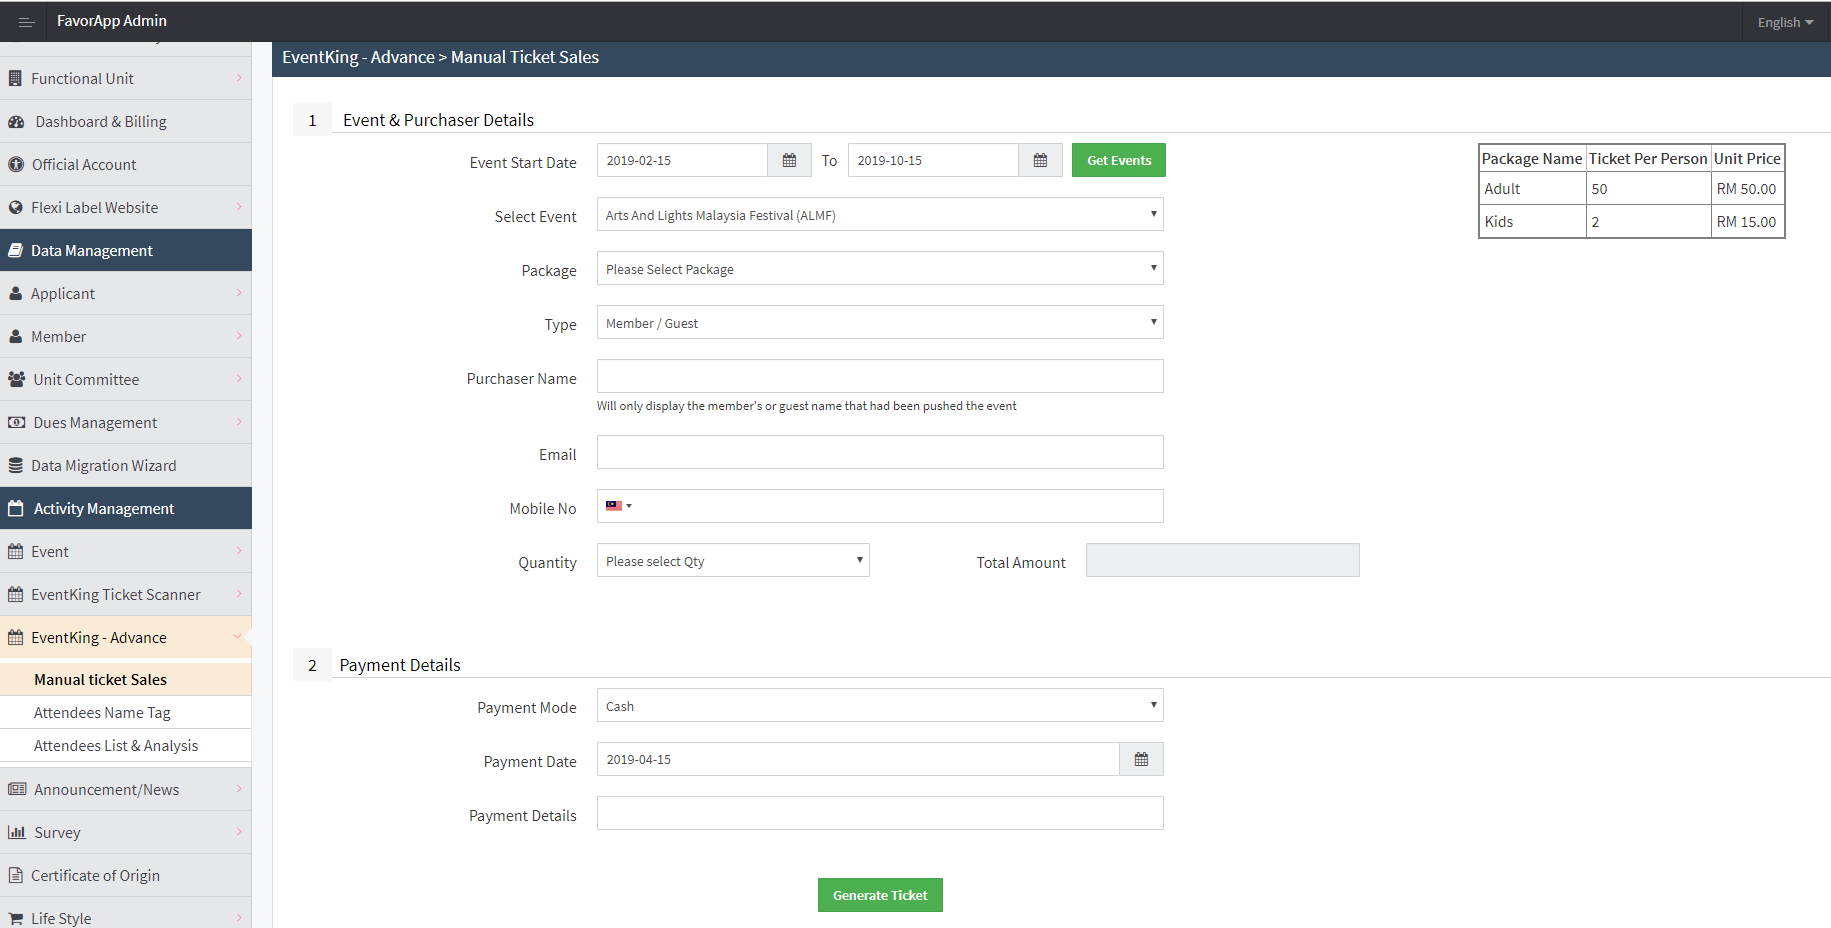
Click on Generate Ticket button.
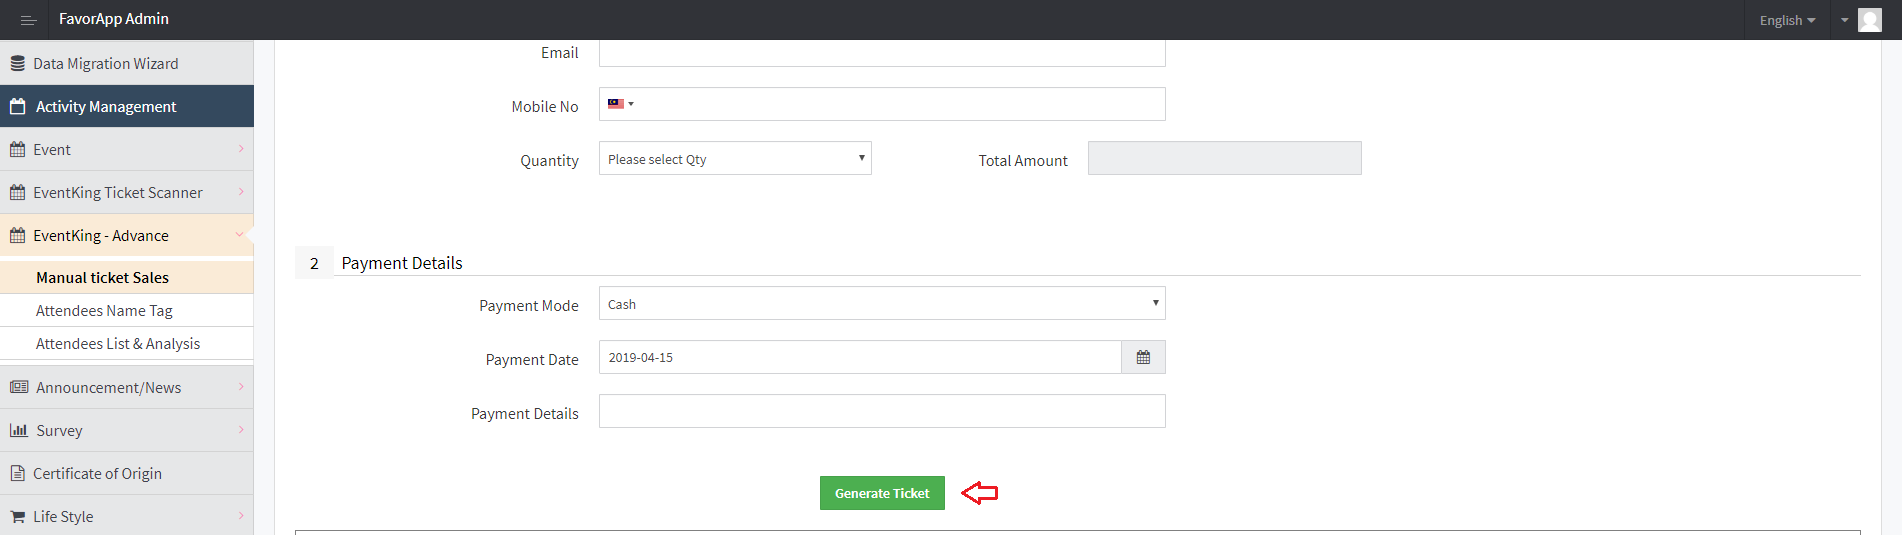
You will receive the ticket receipt successfully.

For Illustration purpose
Under Activity Management, you can go to EventKing-Advance -> Attendees Name Tag. You will need to fill in the details.
There are various attendees’ name display options, either by participant name or general display as Delegate, Participant, Exhibitor.
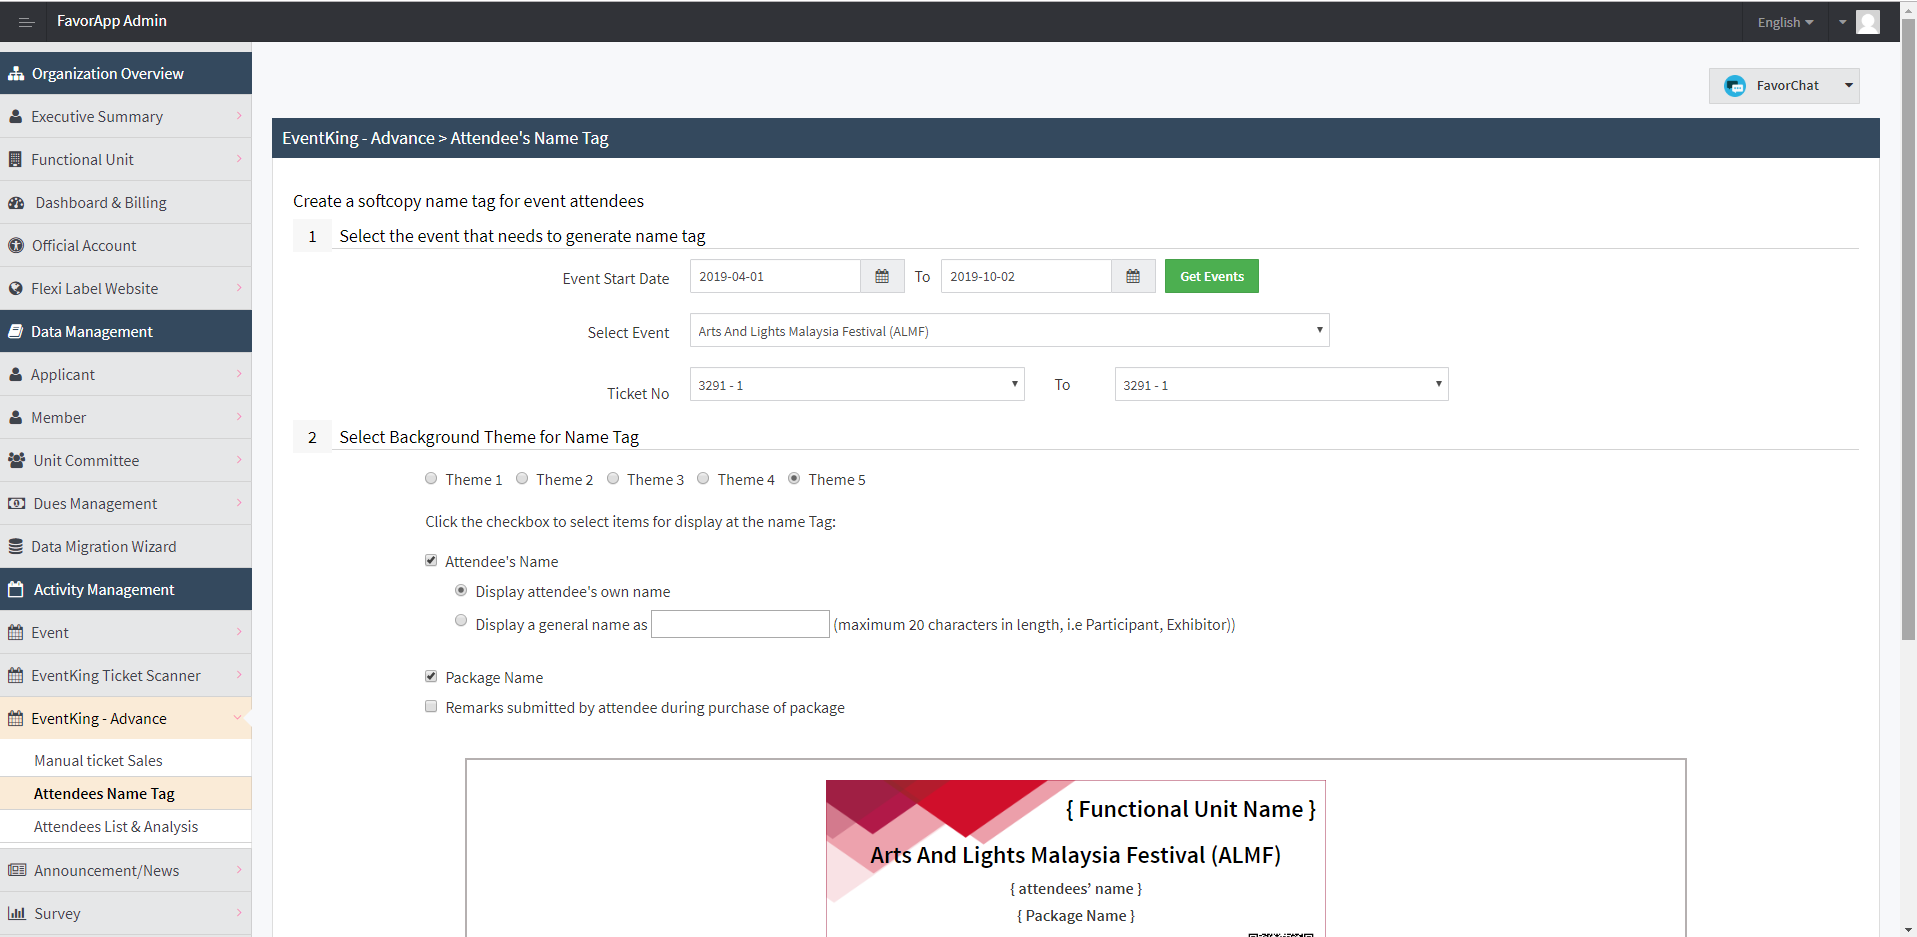
Then click on Generate button to start generating the name tag.
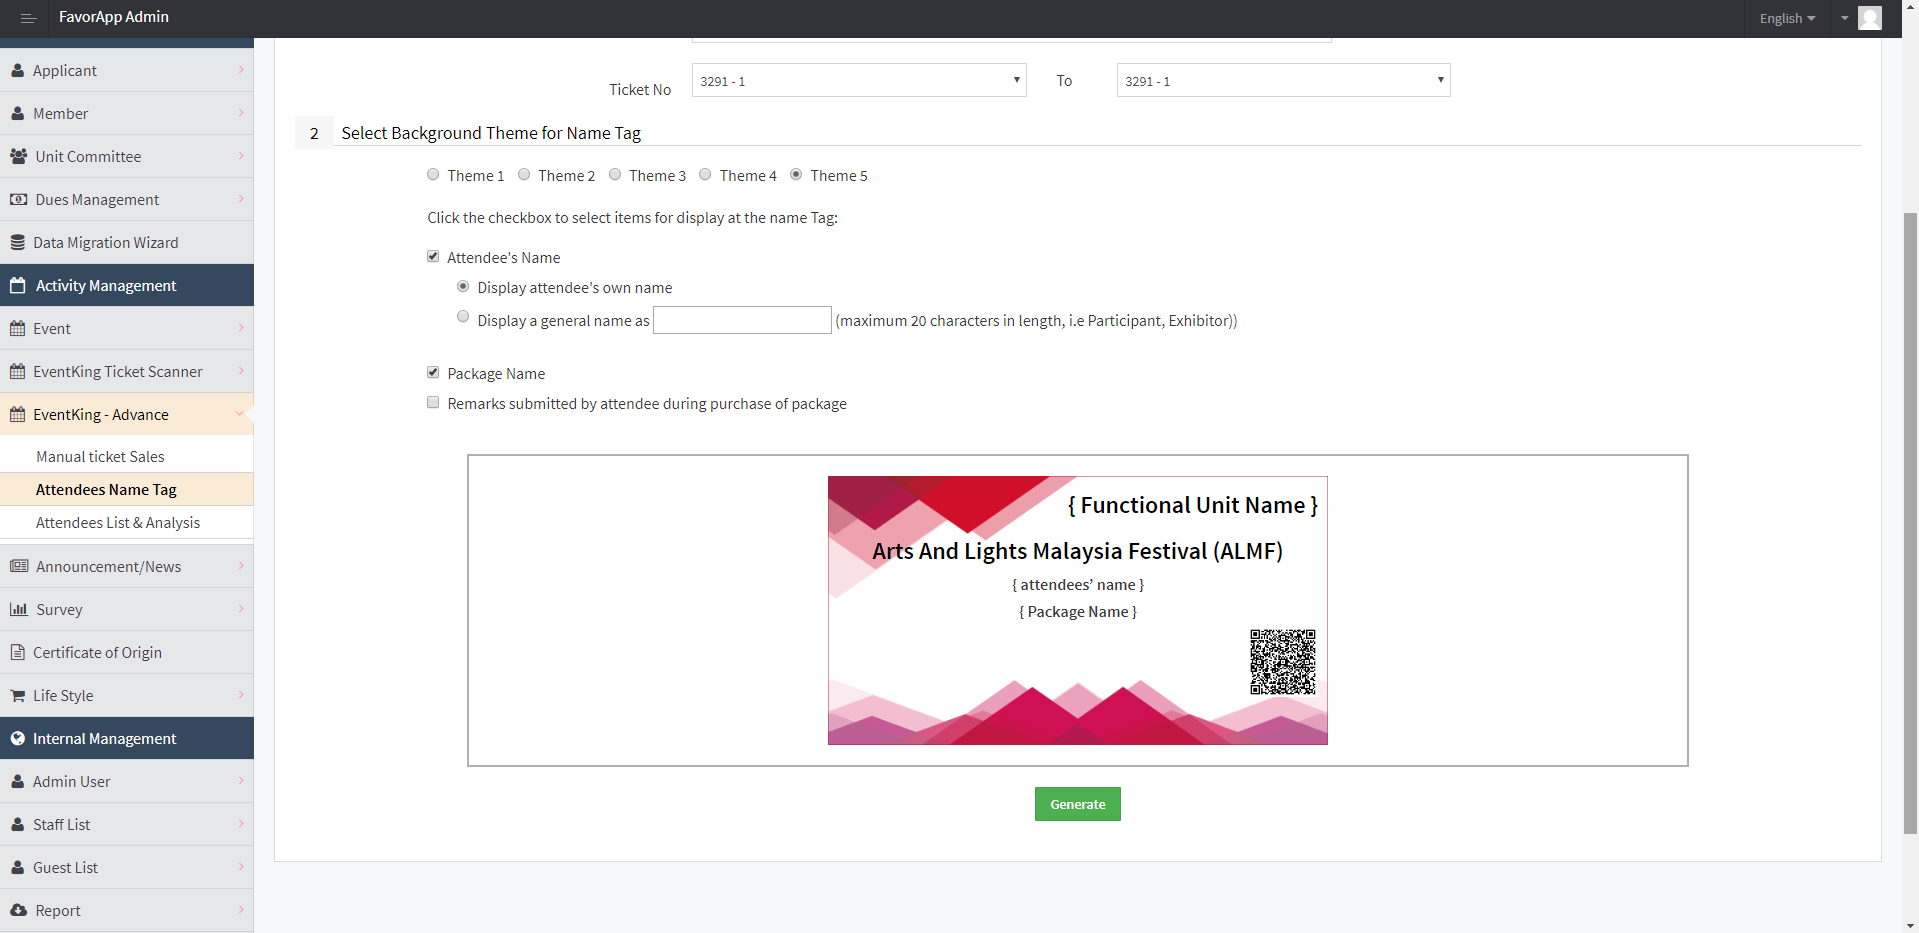
Example of Name Tag :

With the Attendees List & Analysis, you can view the total number of tickets sold in more granular way. From the total tickets sold, you will be able to see the number of attending and no show.
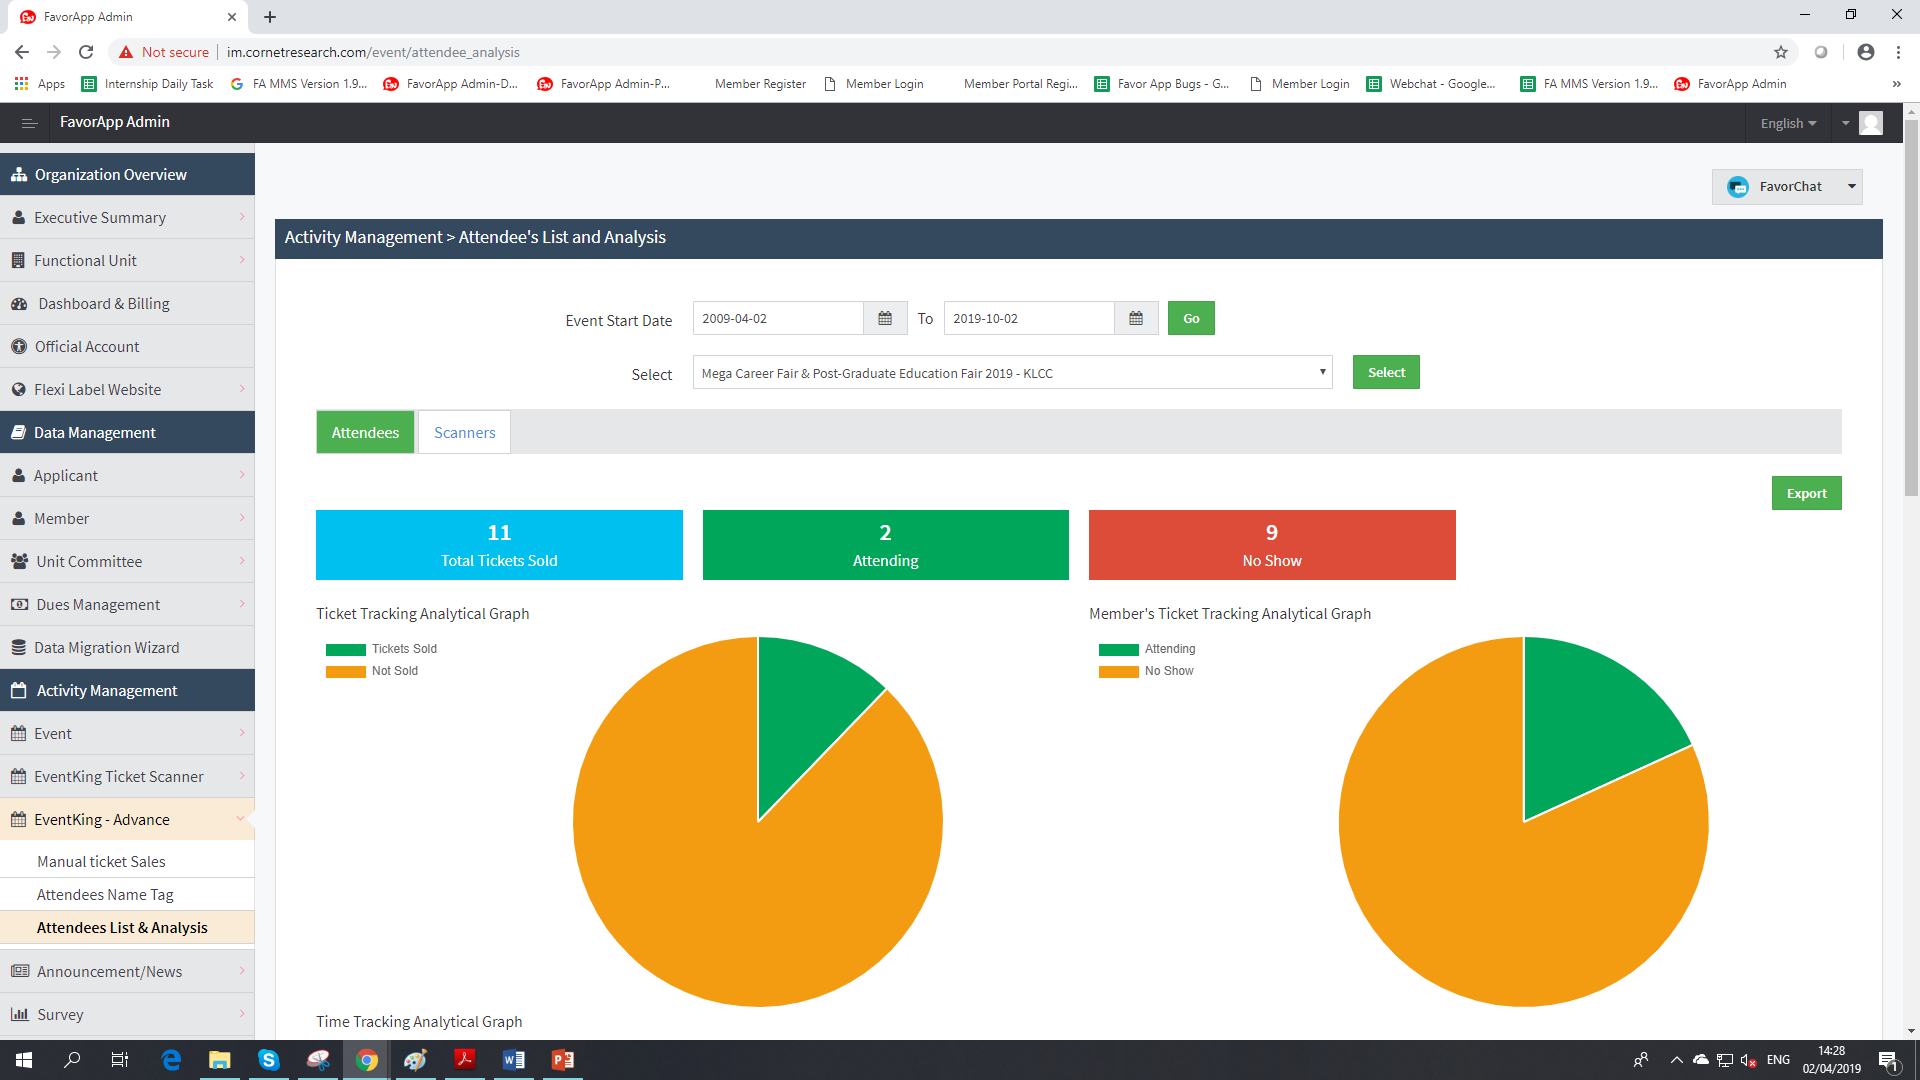
Under the internal management tab, you will be able to see what time the attendees has the highest traffic. Under the graph, the participant detail listing will be displayed

User's Experience:
i. Via Portal
Choose Event tab on EventKing site.
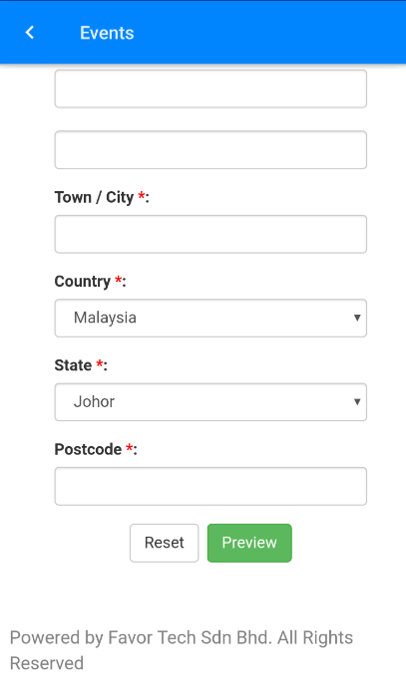
Register your event and fill in the required details.
Click on Order Now button.

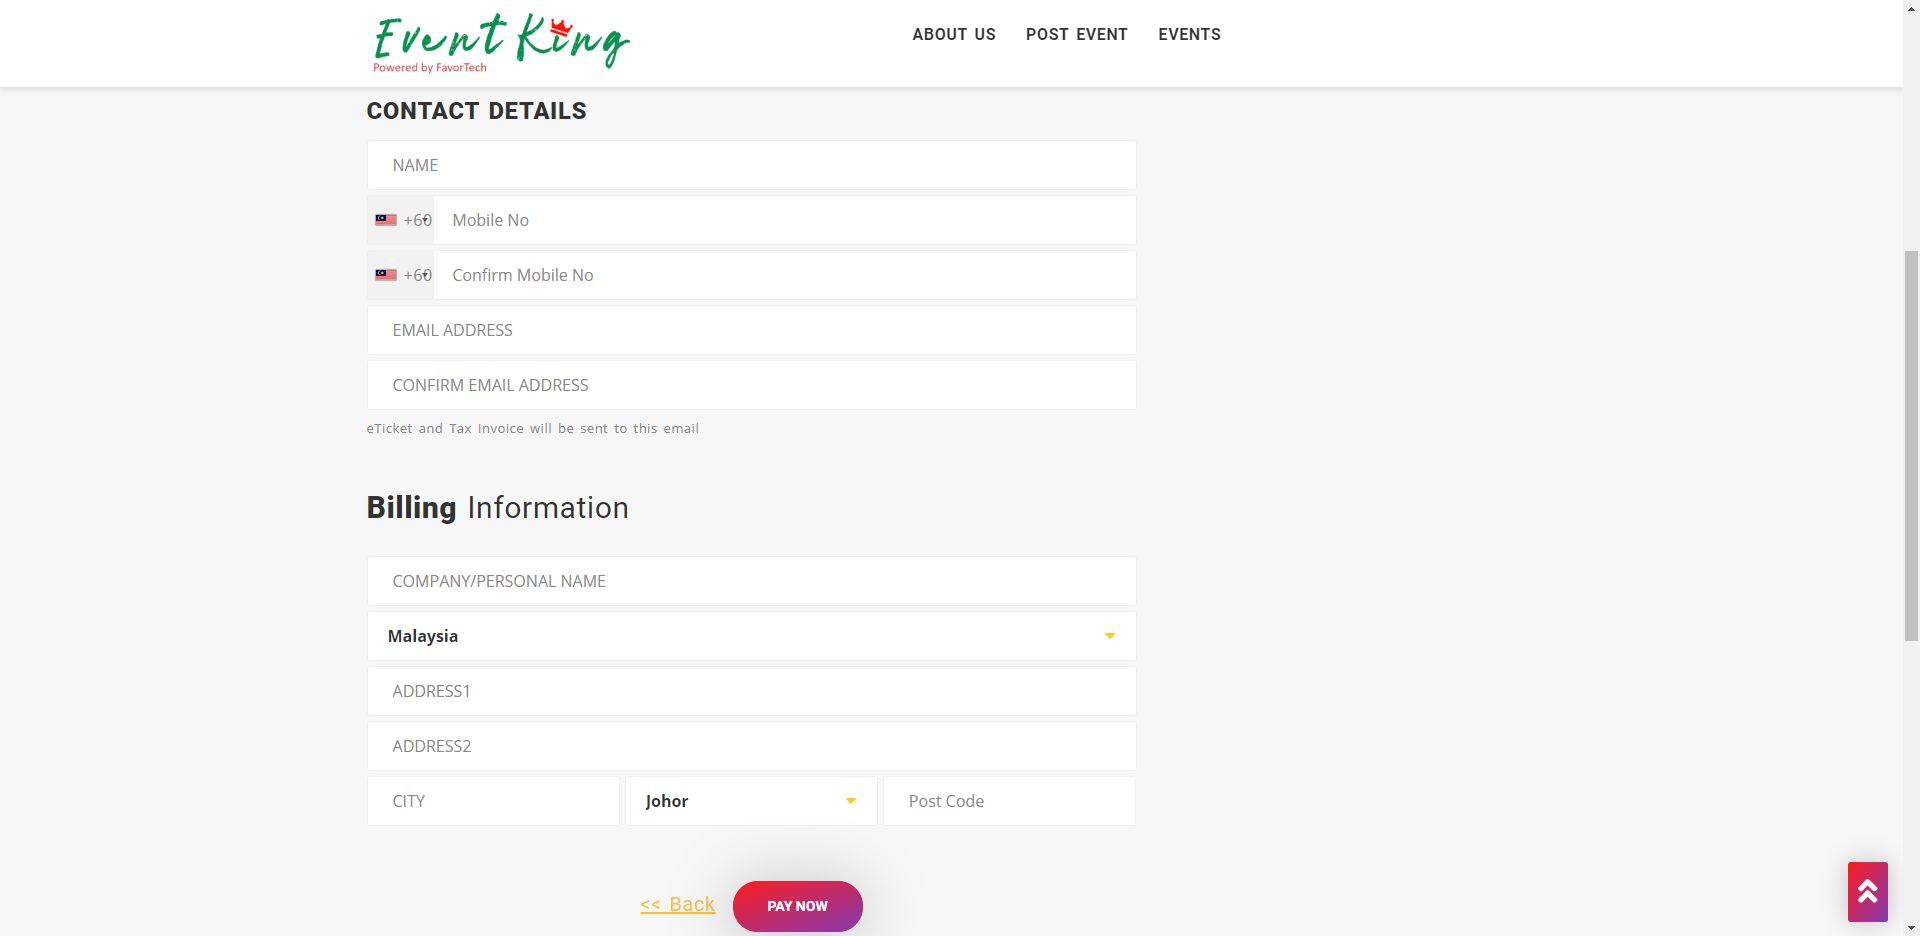
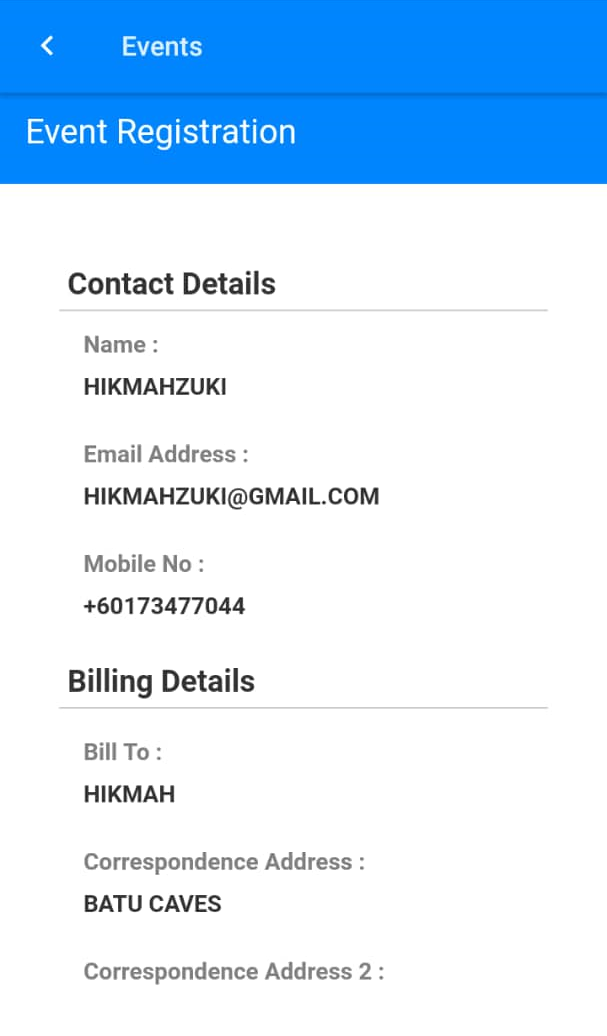
Fill in Contact details and Billing Information.
Click the Pay Now button.
ii. Via FavorAPP

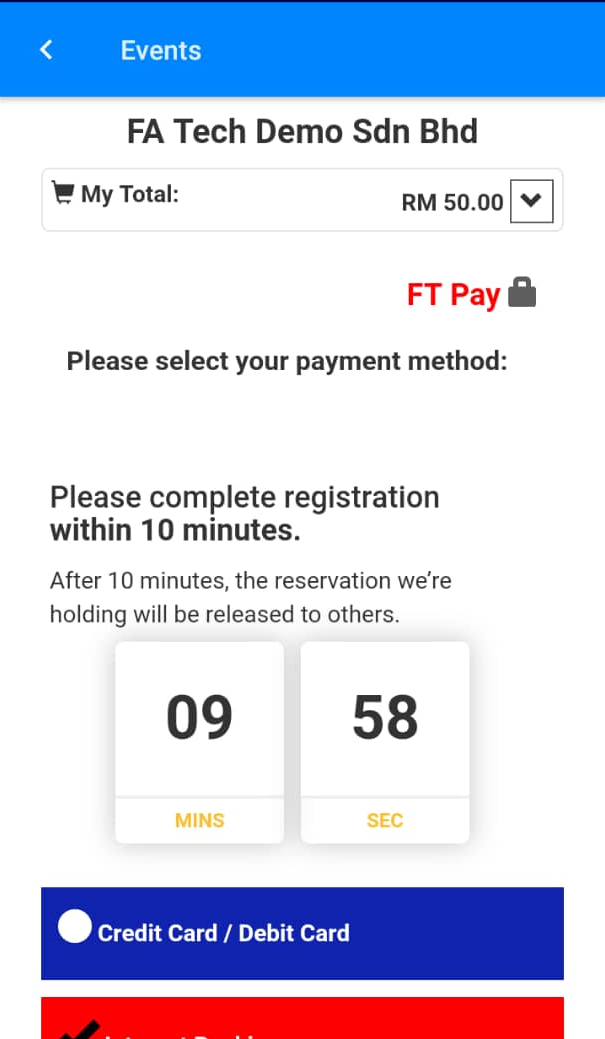
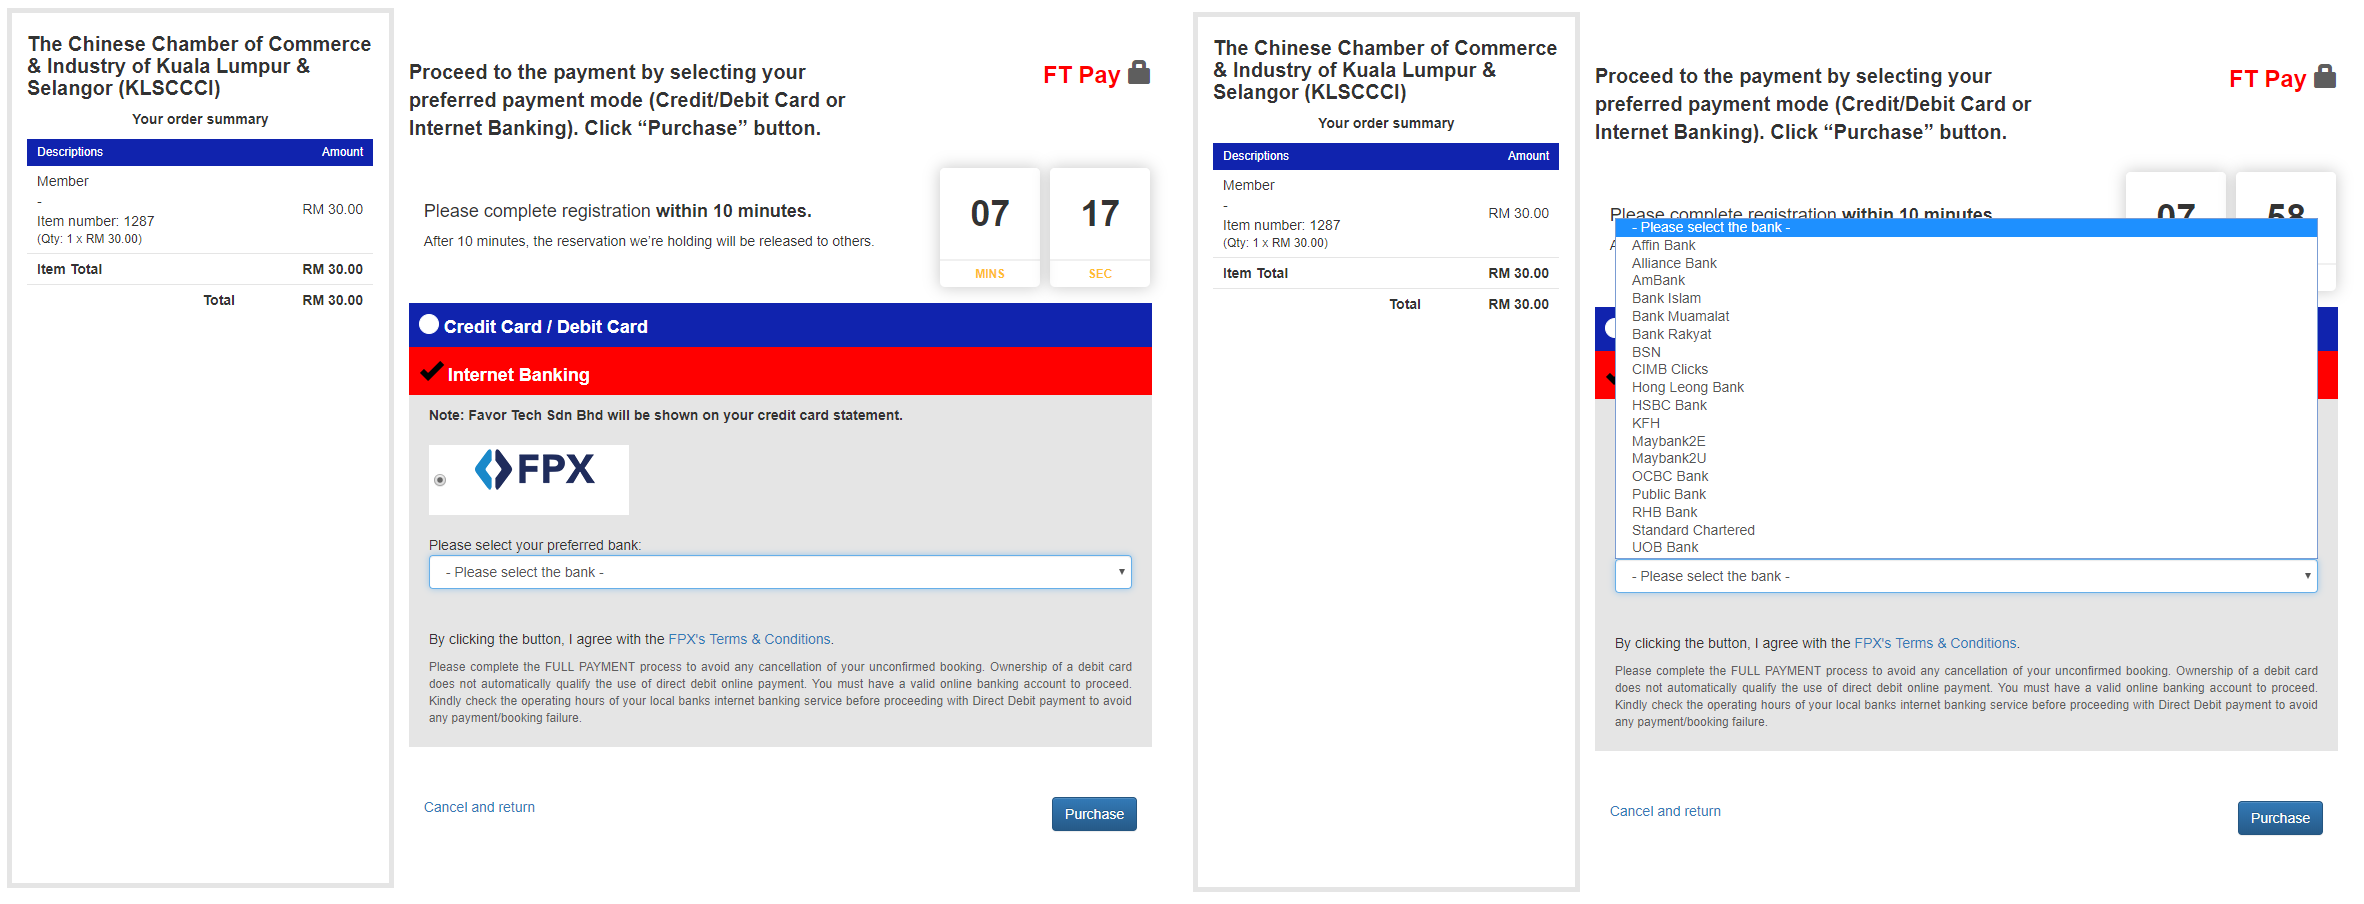
Select the bank that you want to perform transaction.
Click Purchase button.
Once you have successfully paid payment, you will receive e-Ticket and Tax Invoice via email notification.
Example of e-Ticket received via email notification:
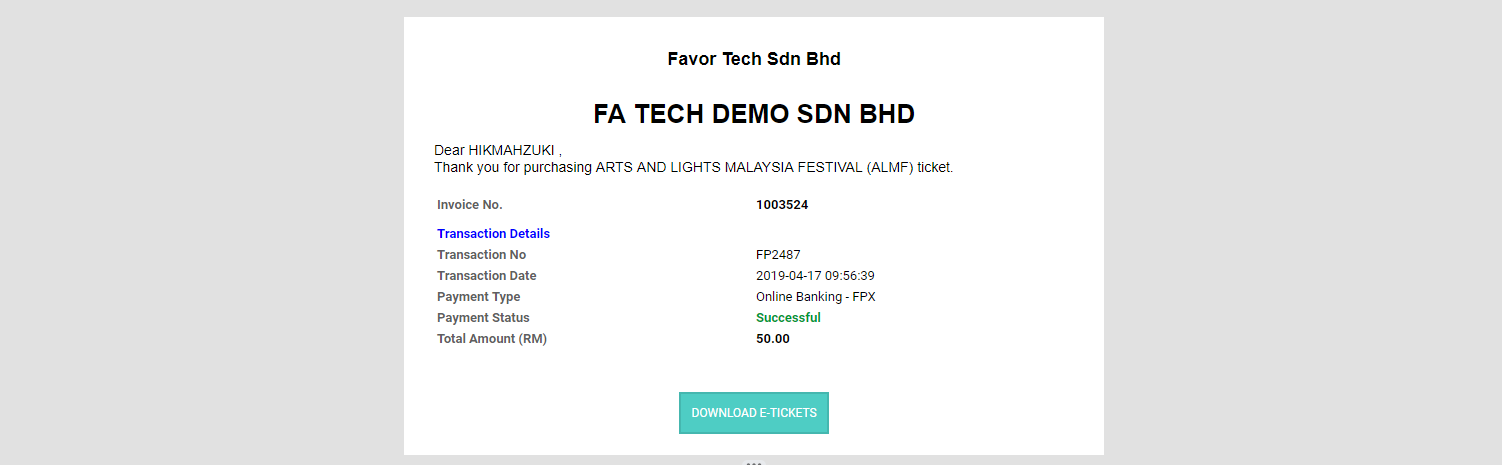
For Illustration purpose
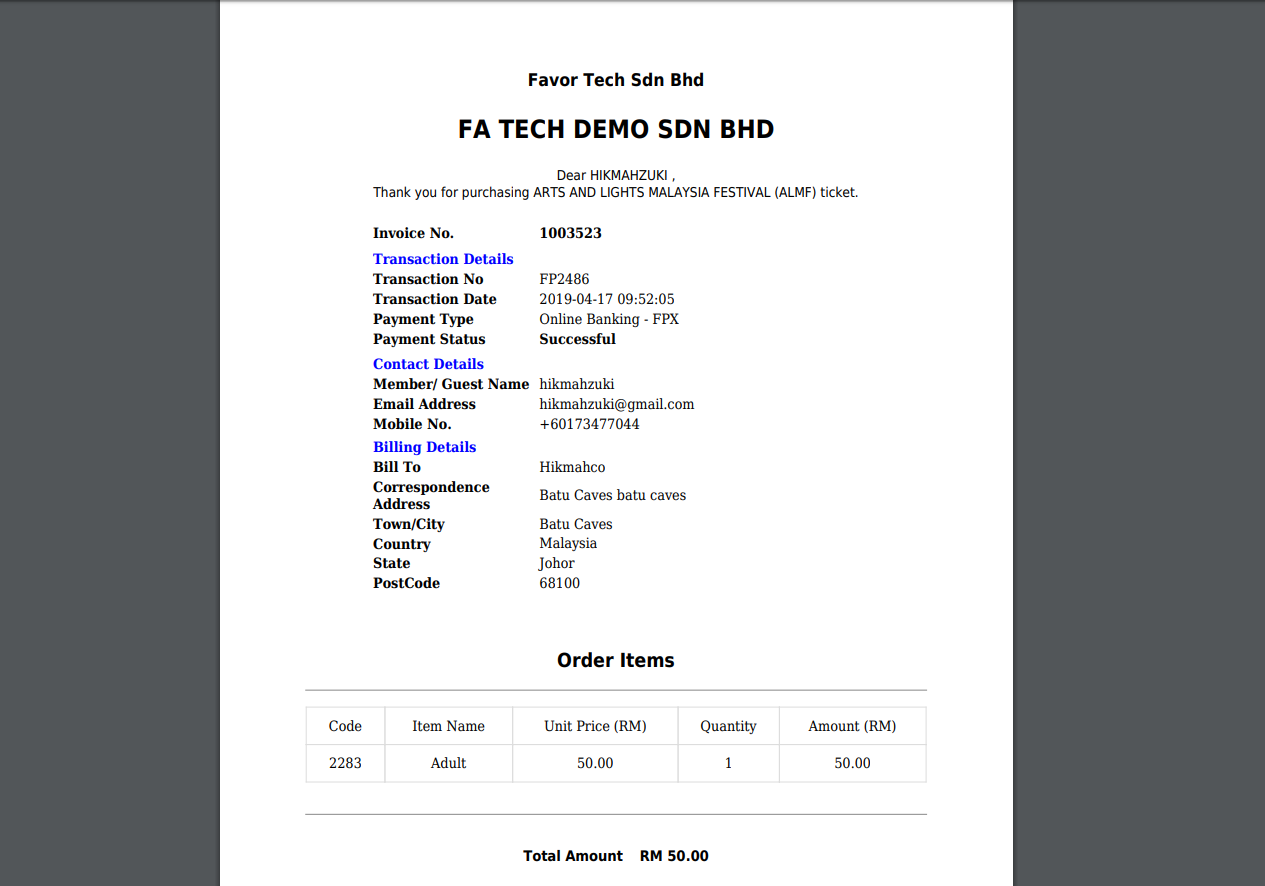
Example of Tax Invoice received via email notification :
If you install FavorAPP, you will be able to get e-Ticket within the app. You can find the e-Ticket based on the Booking section.
Example of e-Ticket in Booking section of FavorAPP :
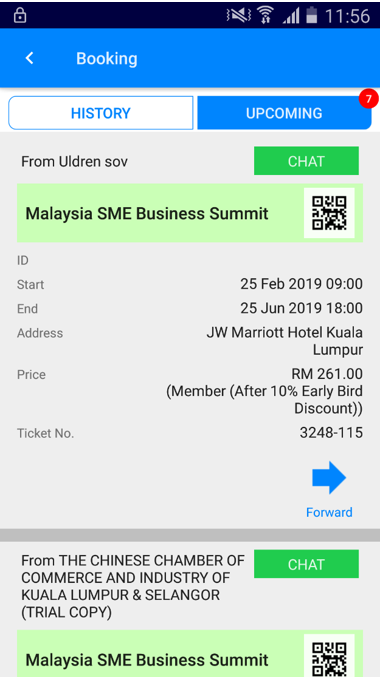
For Illustration purpose